> ## Documentation Index
> Fetch the complete documentation index at: https://zodaf.mintlify.site/llms.txt
> Use this file to discover all available pages before exploring further.
# Basic Usage
> Learn how to use basic zodaf auto-form features
### Create form instance
To create a form instance, use the `useAutoForm` function from `@zodaf/react` package. The `createForm` function accepts two arguments:
1. `schema`: A zod schema object that defines the form fields and validation rules.
2. `config`: An object that defines the form configuration. This is optional.
```tsx app/page.tsx theme={null}
const schema = z.object({
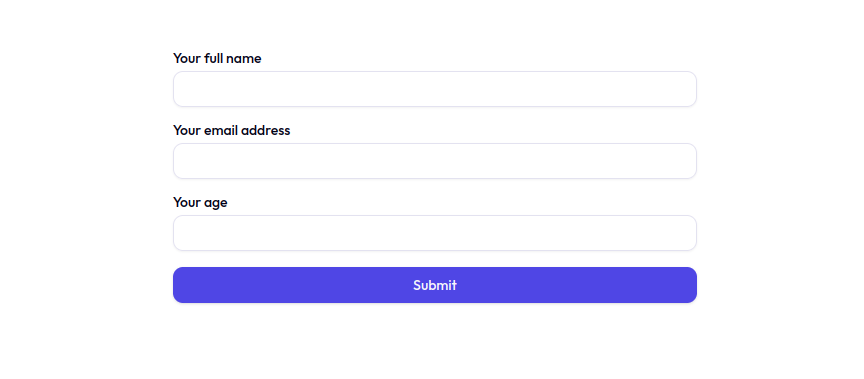
name: z.string().describe("Your full name"),
email: z.string().email().describe("Your email address"),
age: z.number().int().min(18).describe("Your age"),
});
const form = useAutoForm(schema);
```
### Rendering form
To render the form, use the `AutoForm` component from `@zodaf/react` package. The `AutoForm` component accepts the form instance as a prop.
```tsx app/page.tsx theme={null}
```
### Full code
```tsx app/page.tsx theme={null}
import { z } from "zod";
import { useAutoForm, AutoForm } from "@zodaf/react";
const schema = z.object({
name: z.string().describe("Your full name"),
email: z.string().email().describe("Your email address"),
age: z.number().int().min(18).describe("Your age"),
});
export default function Page() {
const form = useAutoForm(schema);
return ;
}
```
### Result